
When you are just starting out in photography, sometimes your pictures look good and sometimes they don’t. Everything just seems to be a little bit hit and miss. To produce consistently beautiful images, you need to know what makes a good photo look good and a bad one look bad. Once you can identify those elements you become a conscious photographer and design your images instead of capturing them by accident.
To help you out, here are three simple things to think about to flatter your subject’s face. [Note: All the following images are unedited.]
1. Keep the nose within the cheek line
Compare these two images. In particular I want you to focus on the nose. People tend to be very self-conscious about their noses. People spent over $5 billion on rhinoplasty surgery (nose jobs) last year, with women between 20-29 years of age being the largest segment getting surgery. Some researchers have suggested that it’s because cell phones, which have wide lenses, make the nose look larger in selfies. All to say, make sure that you don’t purposely make your subject’s nose look large.
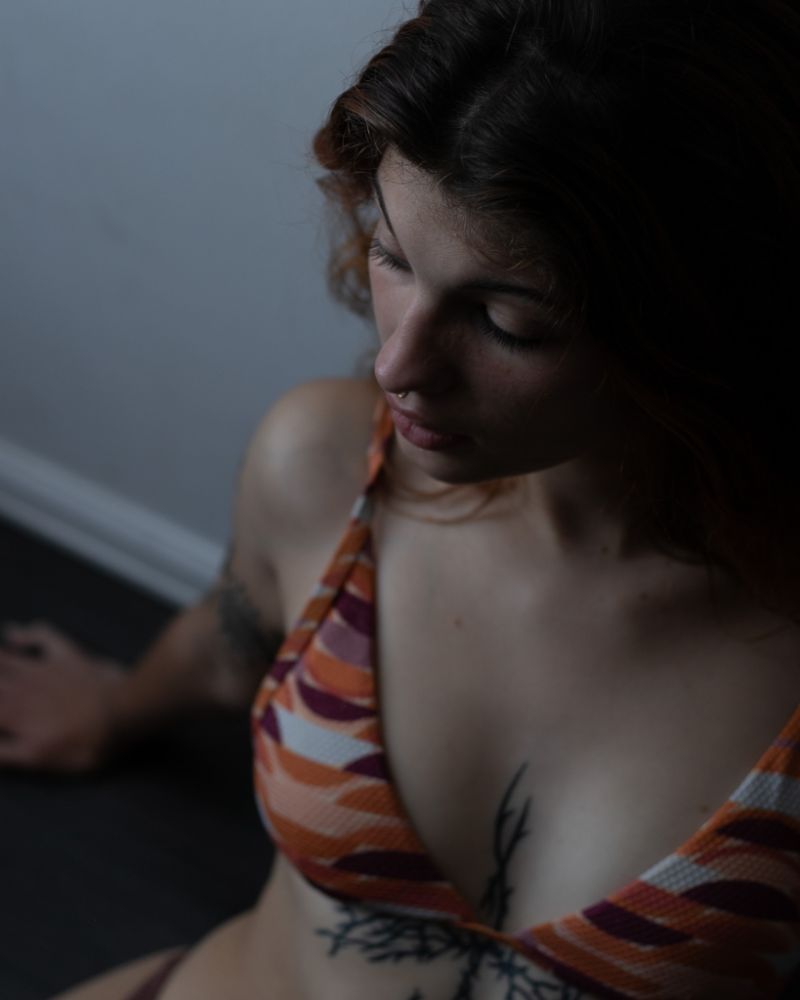

Can you see how much bigger her nose looks in the before picture and how you don’t even notice it in the after picture? The average person would not notice this consciously. They just know that one picture is more flattering for some reason.
The reason is that in the after picture, I’ve placed her nose within the cheek line. What we notice is the beautiful lines and contours on the side of her face because that bright side is contrasted with the cool grey wall behind her. Her nose fades into her face. Compare that to the before picture where it’s the tip of her nose that is contrasted with the background and jumps out at us. Once you see it, it’s hard to un-see it.
Important side note: I just want to say that Maria does not have a big nose. She has a perfect nose. But two dimensional photos distort the reality of our 3D world. It’s our job as photographers to represent the 3D world as accurately as possible and highlight our subjects true beauty by using the right camera angles, among other things.

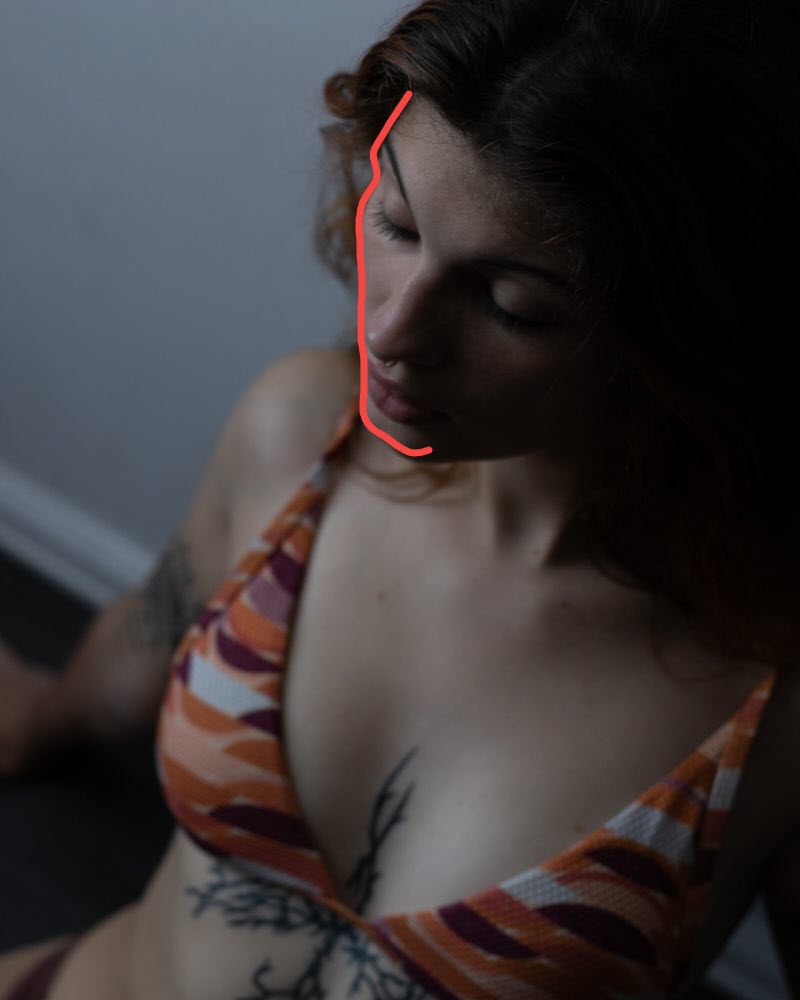
As a general rule, make sure that you can see both eyes, that is, make sure that the eye furthest from you is not obstructed by the nose. That should get the nose within the cheek line for most subjects.
2. Make sure the eye line follows the nose line
If the eyes are open, they should be looking in the direction of the nose. The irises will fill maximum amount of eye space in this position. We connect with people through the eyes, so we want to see them. Seeing full irises and pupils is attractive.
When the eyes don’t follow the line of the nose, we see a lot of white space and the irises and pupils mostly disappear. It just looks odd.
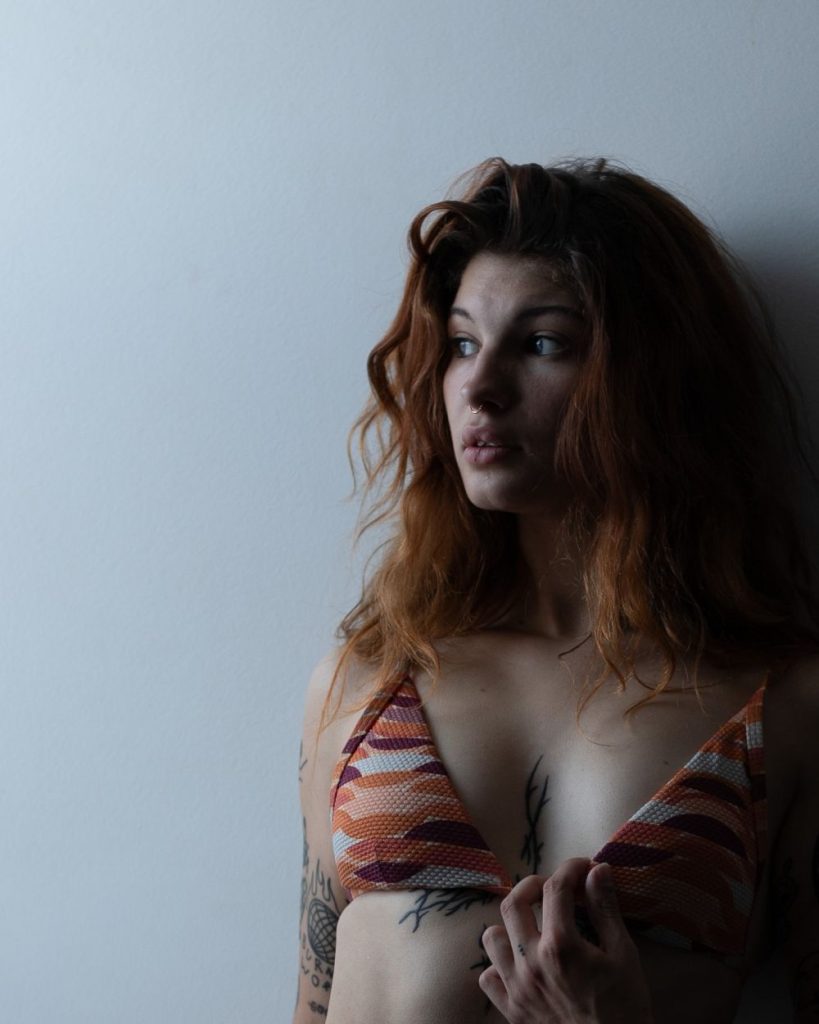
You have a little wiggle room. The eyes don’t always have to line up with the nose exactly, but the more the eyes veer off that line, the weirder it looks. The image above definitely should never see the light of day, but the image below is acceptable, for the most part.

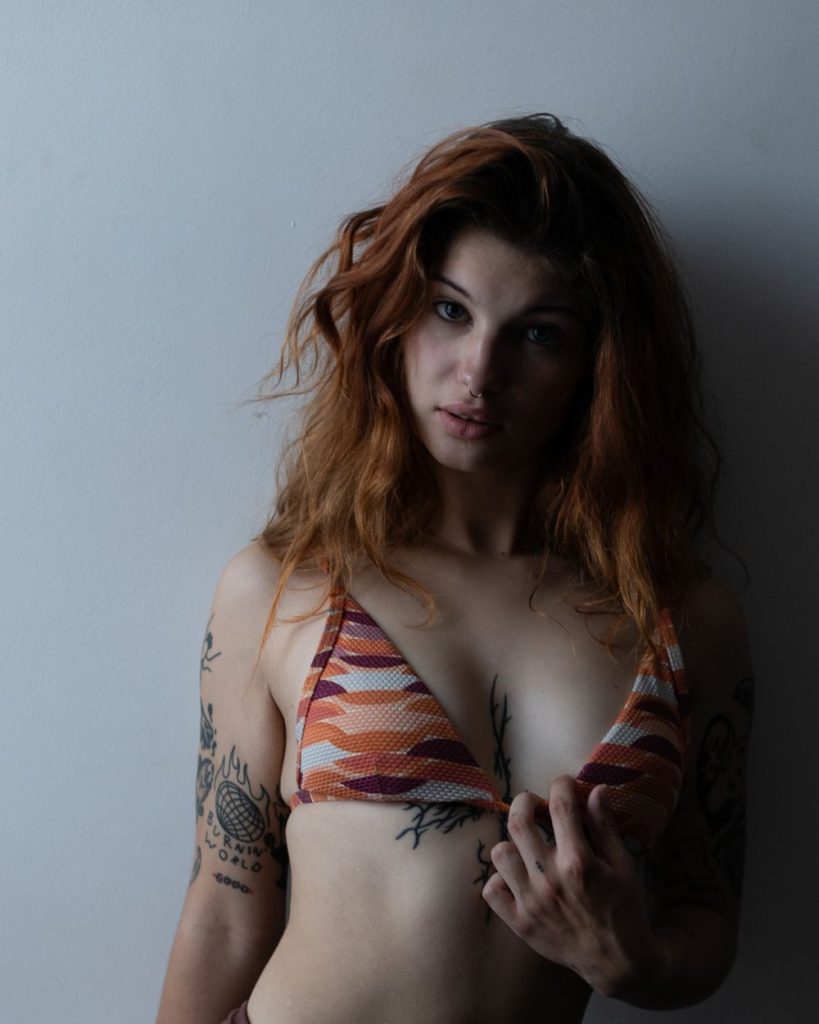
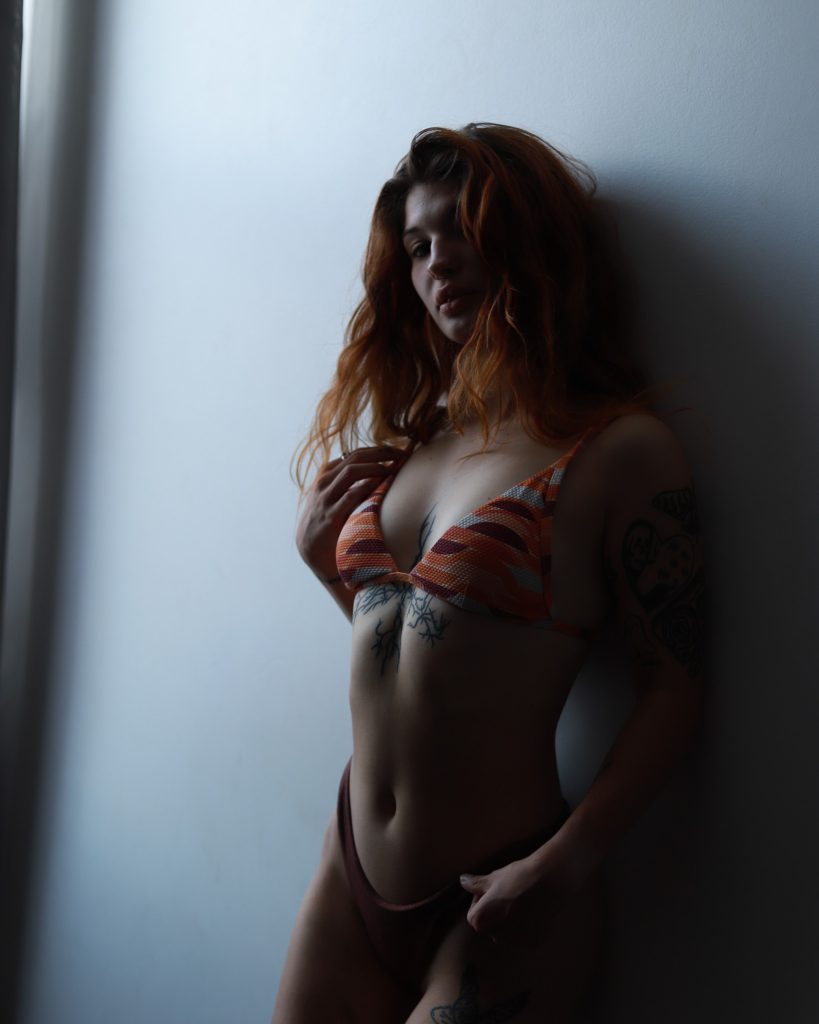
3. Use “short side” lighting
Short lighting is a lighting technique used in portrait photography in which the far side of a subject’s face is lit relative to the camera. This leaves the near side of the face darker or entirely shadowed. You see this in all the images illustrated above.
The opposite of short side lighting is broad side lighting, where you stand on the same side as the light source.
Our eyes are drawn to the lightest parts of an image. We tend not to look into the shadows. As a result the face looks a lot narrower than it actually is. So this is a great slimming technique when you’re taking pictures of larger models.
For full body shots with fit subjects, the contours of their chest and abdomen are emphasized making them look “cut”. It also emphasizes the curves of the breasts and hips on female models for a more sensual look.
In addition, this is the type of lighting that you almost always see in films (except for comedies), so it has a cinematic quality to it.
Don’t take dozens of shots mindlessly hoping that you’ll get a good one. Shoot intentionally. Next time you do a portrait shoot, check your angles and direct your model keeping these three simple things in mind and you’ll walk away with some images that you can be proud of and that your model will love.