
Framing the Shot
You are an artist! Whether you’re shooting your family vacation for fun and personal enjoyment, or shooting a commercial assignment, wedding, or portrait as part of your job, you are creating art.
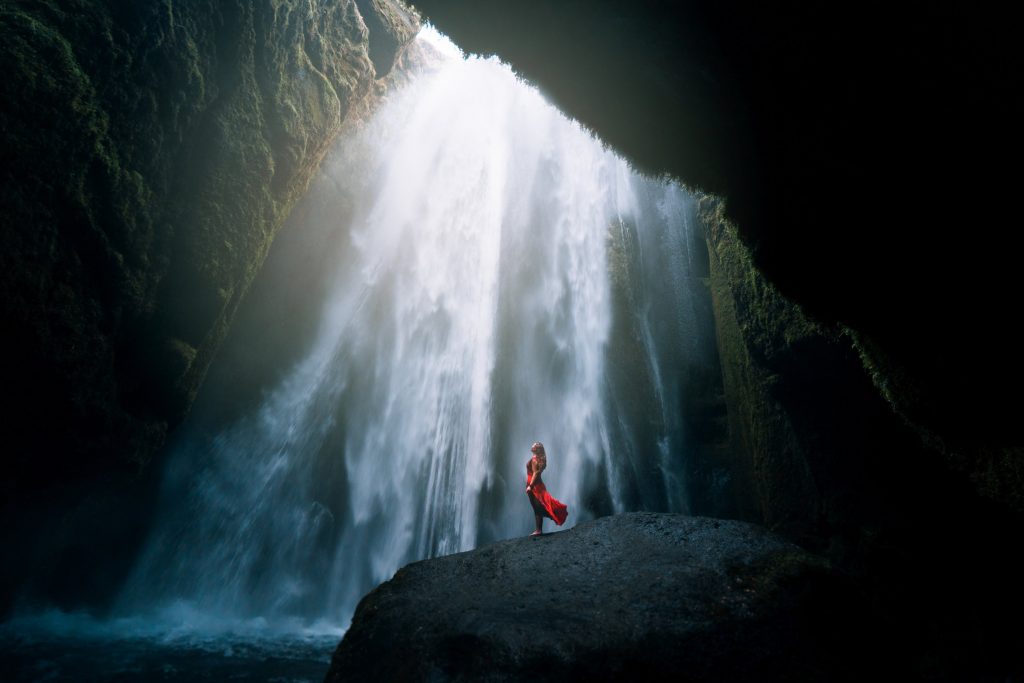
Just as a painter creates their art within the borders of a canvas, you must compose an image within the frame of your viewfinder. You are capturing a single view of the world at a particular moment in time for others to enjoy and appreciate.
Framing may not seem like a sexy topic for photographers, but deciding what you’ll put in your frame is always the first and most important decision you’ll make as a photographer. So it’s absolutely vital that you are able to frame consciously by design and not simply by accident.
This guide is designed to start you thinking about framing consciously and gives you the knowledge you need to consistently frame your shots for maximum impact as well as exercises to develop that skill. Like any skill, once you’ve learned and practiced it, it will become part of your DNA. You’ll start framing visually striking images without even thinking about what you are doing.
Framing is the keystone to composition. Framing allows you to organize and arrange various elements (subjects and objects) to create a powerful image; an image that strongly draws people into your photos and holds them for as much time as possible.
Framing involves moving your camera to find the best angle and view of the photo you want to compose. You move your camera through three-dimensional space: To the right or left, higher or lower, or closer or further from your subject. Then in post-production, you can further refine your framing through cropping.
In this guide we’ll do a deep dive into framing. The content is divided into three sections:
- The Essentials: We’ll start with a short introduction so that you have a foundational understanding of framing. We’ll look at what you include in your frame and what you leave out. We’ll discuss cropping and aspect ratios, and we’ll look at the concept of negative space in your images.
- Shot types: When doing portraiture, how much of your subject you in include in your frame can dramatically change the relationship your viewer has with the subject. So we’ll look at moving or zooming to modify the distance between you and your subject for various effects.
- Angles: The camera can be moved side to side, up and down, forward and backward, but it can also be tilted. So we’ll look at angles and how you can find the best angle for the shot you want.
Let’s start exploring by delving into the lessons and topics below. You can do them in any order, but I highly suggest you start at the beginning and work your way through sequentially.